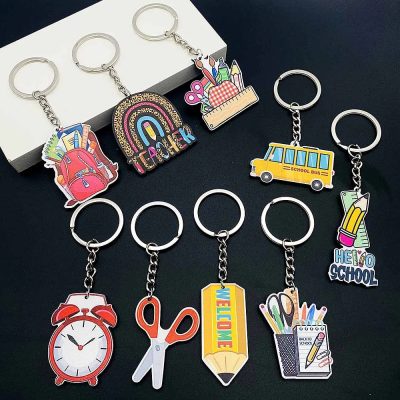
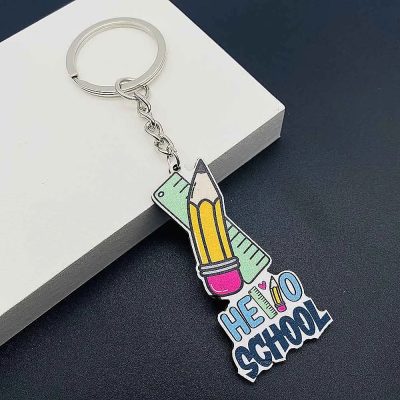
Personalized wooden keychains are not only functional but also serve as unique keepsakes that can carry significant sentimental value. Whether you’re crafting them as gifts, promotional items, or personal mementos, the process of making these keychains can be both rewarding and enjoyable. In this step-by-step guide, we’ll walk you through the art of creating your own personalized wooden keychains.
Materials You’ll Need:
- Wood Blanks: Choose a type of wood that is easy to work with and durable, such as maple, cherry, or oak.
- Keychain Hardware: Rings and chains to attach the wooden piece to keys.
- Sandpaper: Various grits (80, 120, 220) for smoothing the wood.
- Woodburning Tool or Engraving Pen: For adding personalized designs or text.
- Acrylic Paints or Wood Stain: To add color or enhance the natural wood grain.
- Paint Brushes: For applying paint or stain.
- Clear Sealant: To protect the finished product.
- Drill: For making holes to attach the hardware.
- Clamps and Workbench: To hold the wood in place while working.
Step-by-Step Instructions:
Step 1: Selecting and Preparing the Wood
Begin by selecting high-quality wood blanks. Ensure the wood is smooth and free of any cracks or imperfections. Cut the wood into your desired shapes and sizes using a saw. Common shapes include circles, rectangles, hearts, and custom silhouettes.
Step 2: Sanding the Wood
Using progressively finer grits of sandpaper, sand the wood pieces until they are smooth to the touch. Start with 80-grit to remove any rough spots, then move to 120-grit, and finally finish with 220-grit for a polished surface.
Step 3: Designing Your Keychain
Sketch your design on the wood lightly with a pencil. This could be anything from initials and names to intricate patterns or logos. If you prefer, you can use stencils for more complex designs.
Step 4: Engraving or Burning the Design
Using a woodburning tool or an engraving pen, carefully trace over your pencil design. This step requires patience and a steady hand, so take your time. The engraved or burned lines will add a tactile and visual depth to your keychain.
Step 5: Adding Color (Optional)
If you want to add color to your keychain, use acrylic paints or wood stains. Paints will provide vibrant, opaque colors, while stains will enhance the natural beauty of the wood grain. Apply thin, even coats and let each layer dry completely before adding another.
Step 6: Sealing the Keychain
Once your design is complete and any paint or stain is dry, apply a clear sealant to protect the wood and preserve your artwork. This will also give your keychain a polished, finished look. Allow the sealant to dry thoroughly.
Step 7: Attaching the Hardware
Using a drill, create a small hole at the top of your keychain where you want to attach the hardware. Ensure the hole is just large enough for the keychain ring to fit through. Insert the keychain ring and secure it.
Final Thoughts
Crafting personalized wooden keychains is a creative and satisfying project that results in beautiful, functional items. Whether you’re making them for yourself or as gifts, each keychain can be a unique expression of artistry and craftsmanship. Enjoy the process, and let your creativity shine through every piece you create!


